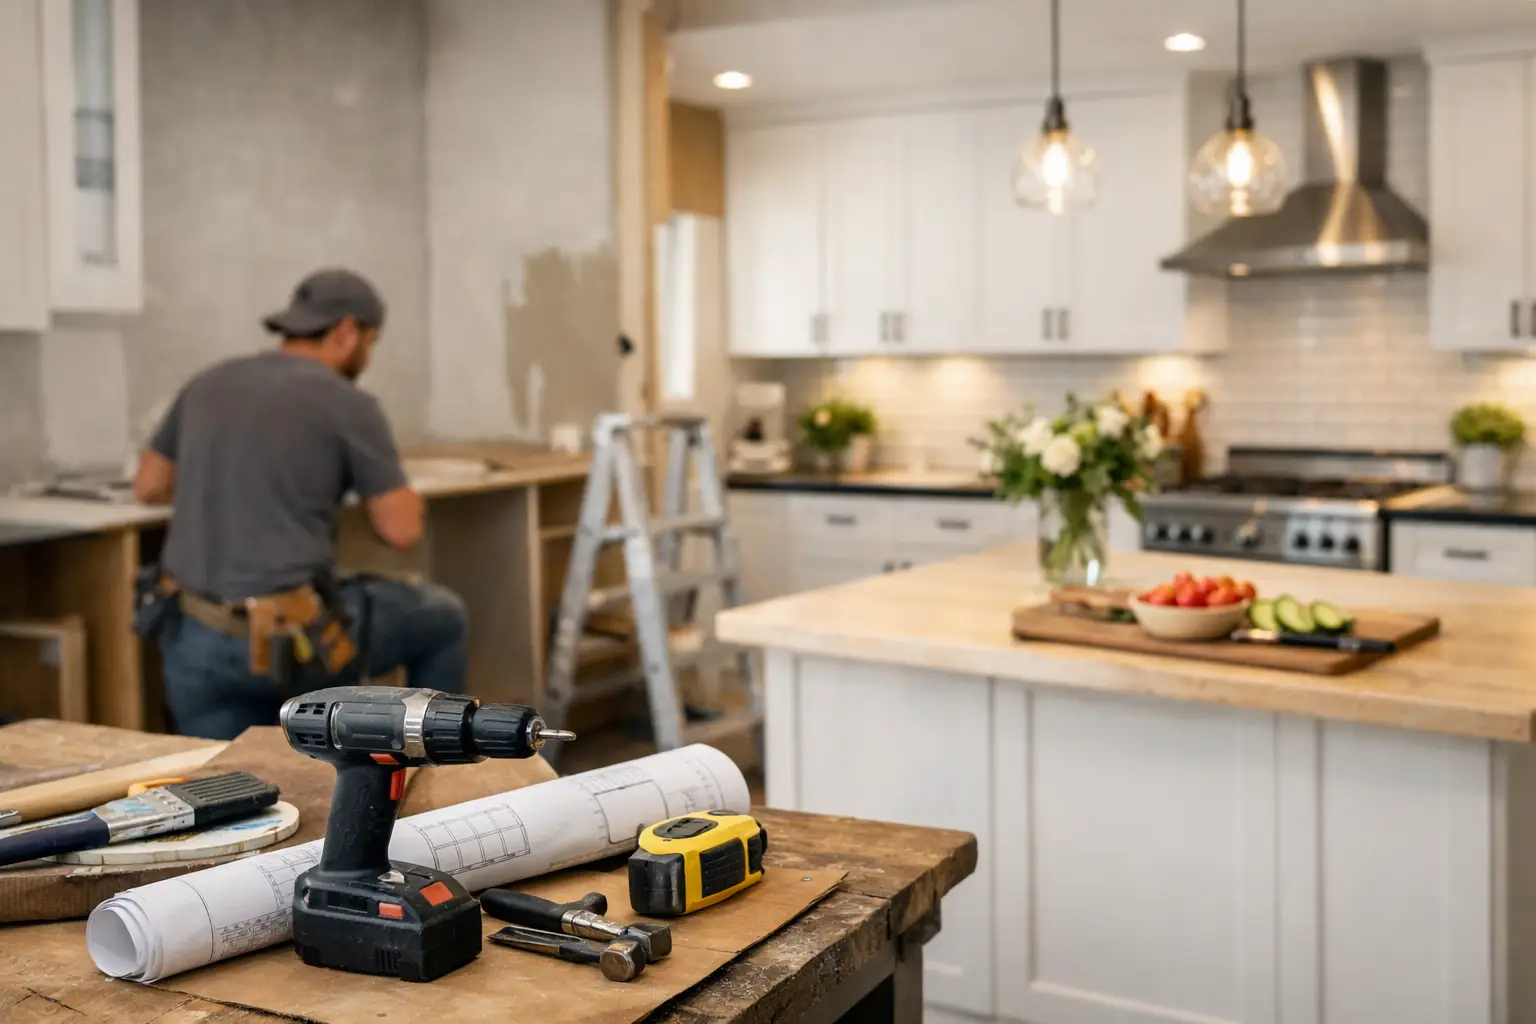
A kitchen remodel usually starts the same way – one cabinet door that no longer closes right, a countertop edge that has seen better days, or a layout that makes dinner feel harder than it should be. If you are researching how to remodel kitchen DIY, the real goal is not just saving money. It is making smart improvements without creating expensive problems you have to fix later.
For many homeowners, a do-it-yourself kitchen update can absolutely make sense. Paint, hardware, lighting swaps, trim work, and even some cabinet and backsplash projects are manageable with the right plan. But a kitchen is also one of the most complex rooms in the house. Plumbing, electrical, ventilation, flooring transitions, and cabinet alignment all affect how the space performs every day. The key is knowing where DIY adds value and where it adds risk.
How to Remodel Kitchen DIY Without Losing Control of the Project
The most successful DIY remodels are organized before a single tool comes out. That means defining the scope clearly. Are you refreshing the kitchen you have, or are you trying to rework the layout? Those are two very different projects with very different budgets, timelines, and permit requirements.
A cosmetic remodel keeps the footprint mostly the same. You might paint cabinets, replace counters, install a new sink and faucet, update lighting, and add a backsplash. This is the most realistic DIY path for most homeowners because you are improving appearance and function without moving every system in the room.
A full layout change is another category. If you want to relocate the sink, move a range, add an island with power, or remove walls, the project shifts from weekend work into coordinated construction. That does not mean you cannot be involved, but it usually means bringing in licensed professionals for parts of the work.
Start by writing down three things: what is not working, what must change, and what would simply be nice to have. That short exercise helps prevent budget creep. It also keeps decisions practical instead of emotional once you start looking at finishes.
Build Your Budget Around the Parts That Matter Most
The biggest DIY budgeting mistake is spending too much on visible finishes and not enough on the parts that support them. New pendant lights and a beautiful tile backsplash will not make up for bad cabinet doors, uneven flooring, or an overloaded electrical plan.
Begin with your fixed costs. That includes cabinets or cabinet updates, countertops, sink and faucet, flooring, paint, lighting, and appliance adjustments. Then add a contingency amount. In kitchen work, hidden issues are common. You may find water damage under a sink base, drywall repairs behind old cabinets, or floor leveling problems after demolition.
A reasonable DIY budget should also account for tools, delivery charges, waste removal, and the cost of taking your kitchen out of service. If your project stretches longer than expected, the hidden cost of takeout meals and inconvenience adds up fast.
This is where disciplined planning pays off. A lower-cost material that installs reliably and holds up well can be a better choice than a premium finish that creates delays or requires specialized labor. Durable and straightforward usually wins in a working kitchen.
Demolition Is Easy. Rebuilding Correctly Is the Hard Part.
Many homeowners feel confident during demo because progress is visible right away. Cabinets come out, old tile gets removed, and the room finally looks like change is happening. But demolition needs just as much care as installation.
Turn off water and power to affected areas before removing anything. Protect adjacent flooring and nearby rooms. If you are keeping part of the kitchen, work slowly enough to avoid damaging surfaces you plan to reuse. What looks like a quick shortcut during demo often turns into an extra repair later.
Once the room is open, assess the walls, subfloor, and utility locations honestly. This is the point where many DIY projects go off track. If framing is uneven, plumbing lines are outdated, or electrical placement does not support your new plan, forcing the next step rarely works. Correcting the foundation of the project before finish work begins is what separates a clean result from a patchwork one.
Cabinets Set the Standard for the Entire Kitchen
If there is one part of a kitchen remodel that affects everything else, it is cabinetry. Cabinets determine layout efficiency, countertop fit, appliance spacing, and how polished the room feels when it is done.
If your existing cabinet boxes are in good shape, painting or refacing may be a strong DIY option. This can improve the look of the kitchen dramatically without the cost of full replacement. The trade-off is that surface prep has to be done properly. Grease, worn finishes, and uneven sanding will show through quickly.
Installing brand-new cabinets is possible for experienced DIYers, but accuracy matters. Cabinets need to be level, plumb, securely fastened, and aligned with each other before countertops are measured. Even small errors can affect drawer operation, reveal lines, and final fit. If you are not comfortable reading walls, shimming correctly, and maintaining alignment across the room, this is one area where professional help often protects the investment.
Choose Finishes That Work Hard, Not Just Look Good
A kitchen sees daily wear, so your finish selections should support how you live. That means balancing style with maintenance, durability, and lead times.
Countertops are a good example. Natural stone can be beautiful, but some options require more maintenance than homeowners expect. Quartz is often appealing because it is durable and consistent. Laminate has improved significantly and can be a practical choice for certain budgets. The best material depends on how much cooking happens in the space, how careful users are with surfaces, and how long you plan to stay in the home.
The same logic applies to flooring. Wood-look tile and luxury vinyl both offer advantages, but they perform differently under heavy use and have different installation demands. Slip resistance, water exposure, and transitions into adjoining rooms all matter more than a showroom sample suggests.
Backsplashes, hardware, and lighting are often the most DIY-friendly upgrades. They offer a strong visual return without disrupting the entire kitchen. Done well, those changes can make an older kitchen feel significantly more current.
Know When DIY Stops Being the Best Option
There is a practical line in every remodel where doing it yourself no longer saves time, money, or stress. In kitchens, that line usually appears around electrical, plumbing, gas connections, venting, and complex layout changes.
If your project requires permits, code updates, or inspections, clarity matters. Work done incorrectly in these areas can delay resale, create safety concerns, or require partial demolition later. The same is true for countertop templating, cabinet installation problems, and flooring failures caused by poor prep.
For homeowners in North Dallas, this is often where a hybrid approach makes the most sense. Handle the simpler updates yourself, then bring in a professional remodeling team for the technical or schedule-sensitive parts. That approach protects quality while still giving you control over where your budget goes.
A dependable contractor should make this easier, not harder. Clear estimates, realistic timelines, and organized project management are what keep kitchen work from turning into a long, disruptive process. That is especially important when the kitchen is a central daily-use space.
Keep the Timeline Realistic
Most DIY kitchen remodels take longer than expected, not because homeowners are careless, but because kitchens require sequencing. Cabinets affect counters. Counters affect backsplash layout. Flooring height affects appliances and trim. Painting is often touched up more than once.
Plan for delays before they happen. Materials arrive late. Measurements need to be redone. A wall that looked square is not square. If you are living in the home during the remodel, set up a temporary kitchen area so the disruption stays manageable.
It also helps to order major materials before demolition begins. Waiting until the room is torn apart to finalize tile, fixtures, or cabinet components is how projects stall. A steady project depends on decisions being made early enough to support the schedule.
A Good DIY Remodel Still Looks Professional
The goal is not simply to say you did it yourself. The goal is to end up with a kitchen that feels organized, durable, and well executed. That means clean caulk lines, consistent hardware placement, properly aligned doors, smooth paint finishes, and details that hold up over time.
If any part of the process starts to feel beyond your skill set, there is no failure in pausing and bringing in help. In fact, that is often the most disciplined decision you can make. Companies like Yeager Properties work with homeowners who value clear communication, careful execution, and finished spaces that perform as well as they look.
A smart kitchen remodel is not about doing every single part yourself. It is about making good decisions, protecting your budget, and improving the room in a way that adds lasting value to your home.